Background Remover AI: How to Get Clean Cutouts
ImagesArt.ai
11/16/2026
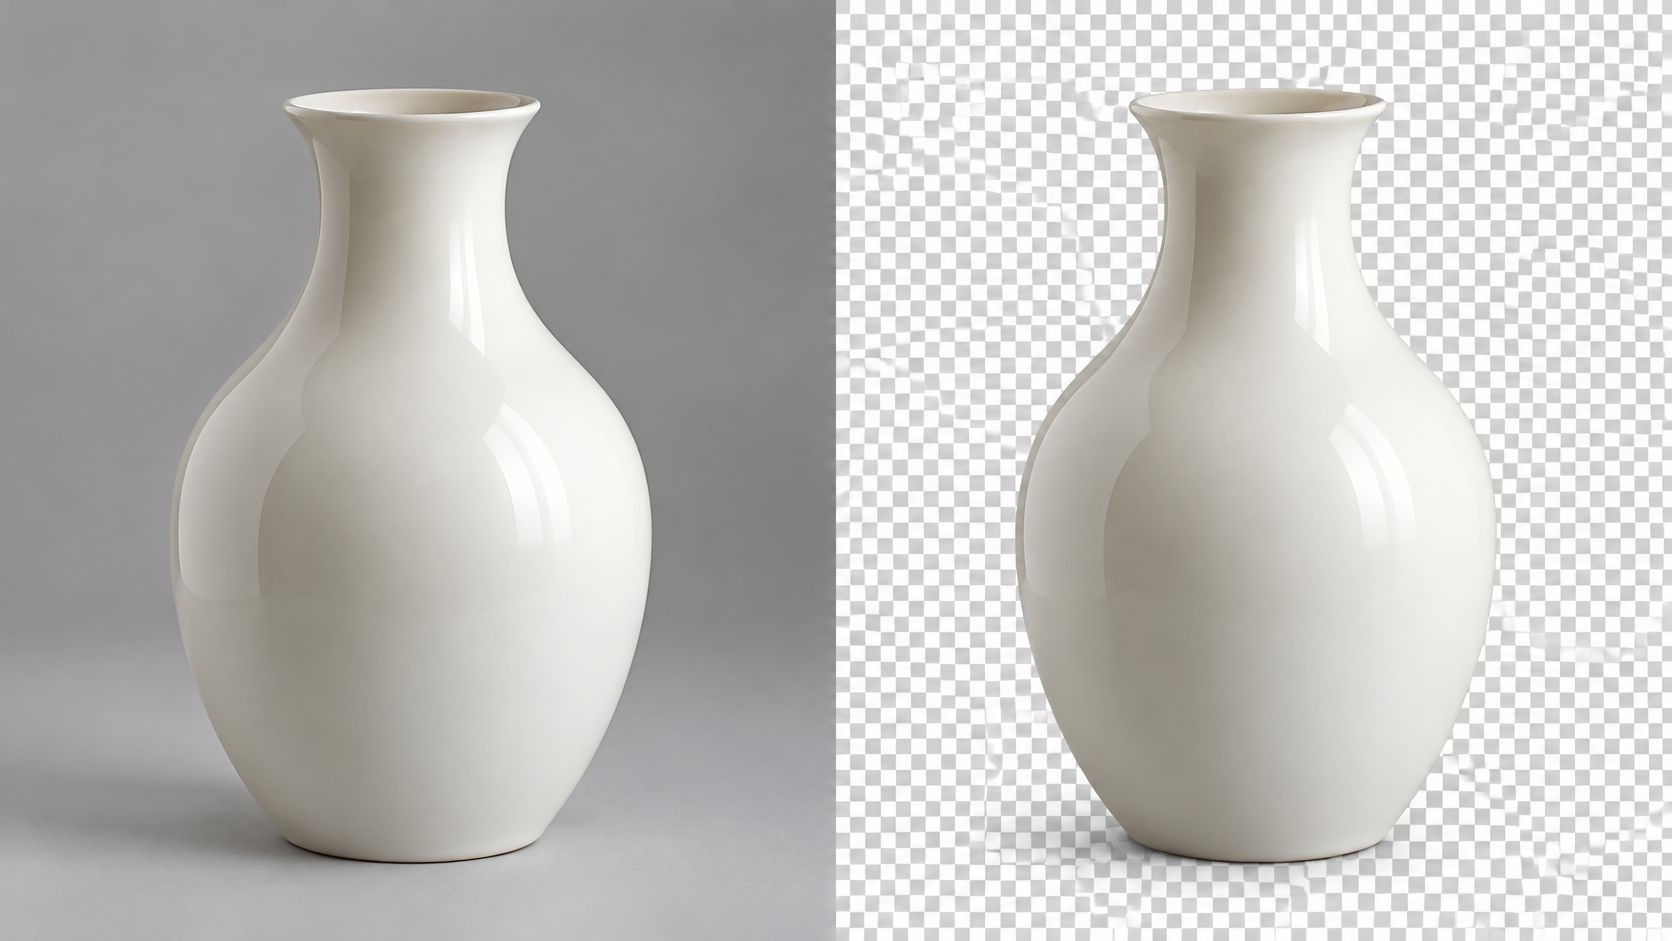
You've got a product photo ready for a listing, a launch graphic, and a vertical ad. The background disappears with a click, but the handle loses a corner, a pale fringe appears on the new layout, and the listing version still isn't ready to upload. Background remover AI works best when you choose the destination before you start editing, then judge the cutout against that destination rather than the checkerboard preview.
A reusable asset needs more than an isolated subject. It needs believable edges, the right export format, appropriate framing, and permission to put the original photograph through the service you're using.
Table of Contents
- Remove a Background With AI in Five Steps
- How AI Tells the Subject From the Background
- Prepare Photos and Fix Stubborn Edges
- Match the Cutout to Where It Will Run
- Export Settings for Reels, TikTok Ads and Product Pages
- Check Privacy Terms Before You Upload Client Photos
- Set Up Your Batch Workflow Before the Next Shoot
Remove a Background With AI in Five Steps
Start with a single product photograph and a clear output in mind. Keep the original untouched so you can compare the result and recover details the automatic mask removes.
Run the first cutout
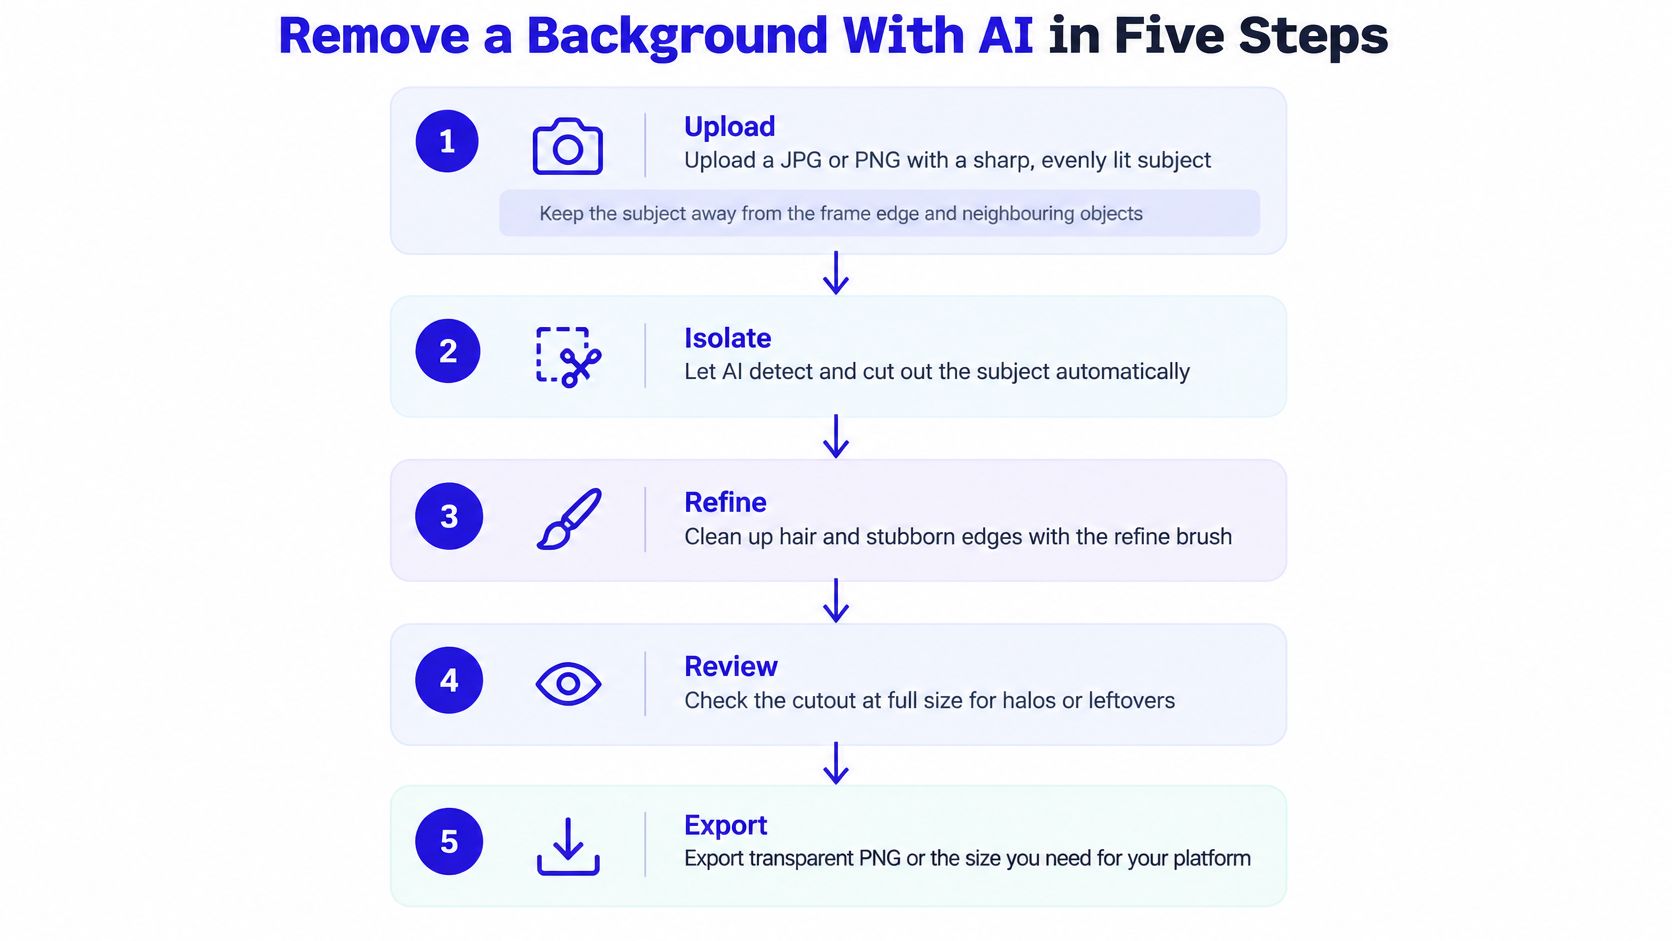
Upload a suitable JPG or PNG. Choose a sharp, evenly lit subject with space around its outline and no neighboring object touching it. Touching edges make clipped corners harder to prevent, and if the photograph isn't public, complete the privacy check before uploading it.
Start the AI Background Remover. Let the preview finish processing before judging the result, since an incomplete preview isn't a reliable view of the final edge. Check that the tool isolated the intended subject rather than including props or excluding an attached part.
Inspect at full size. Zoom to 100 percent and examine hair, straps, handles, glass, and translucent sections before accepting the cutout. Use a refine brush or a mask-capable editor to restore missing details and erase leftover background without repainting the product itself.
Choose transparency or a fixed fill. Export a transparent PNG with RGBA channels for reuse, or composite onto a solid background when the destination requires one. In Google's Merchant API background-removal example, omitting the background-color field produces transparent RGBA output, while setting red to 0, green to 255, and blue to 0 produces solid green.
Save destination-specific versions. Use names such as
bottle-transparent-master.pngandbottle-listing-white.jpgso nobody mistakes a flattened listing image for the reusable master. Keep the editable project alongside the exports if you've repaired the mask or added a shadow.
Use this visual checklist while processing your first image.
Know when the file is finished
A finished cutout has a continuous, believable outline, no isolated background pixels, and no missing holes inside handles or straps. Keep any reconstructed shadow on its own layer so you can adjust its direction, softness, or visibility independently.
Acceptance check: Place the cutout over both a light and a dark background. A checkerboard alone can hide pale fringes and dark edge contamination.
Keep failed experiments out of the delivery folder. On our AI Image, AI Video, and Image to Video pages, you can delete a result from the history panel on the right by clicking … in the toolbar above it and choosing Delete. Treat that as history management, not proof of a particular server-retention period.
How AI Tells the Subject From the Background
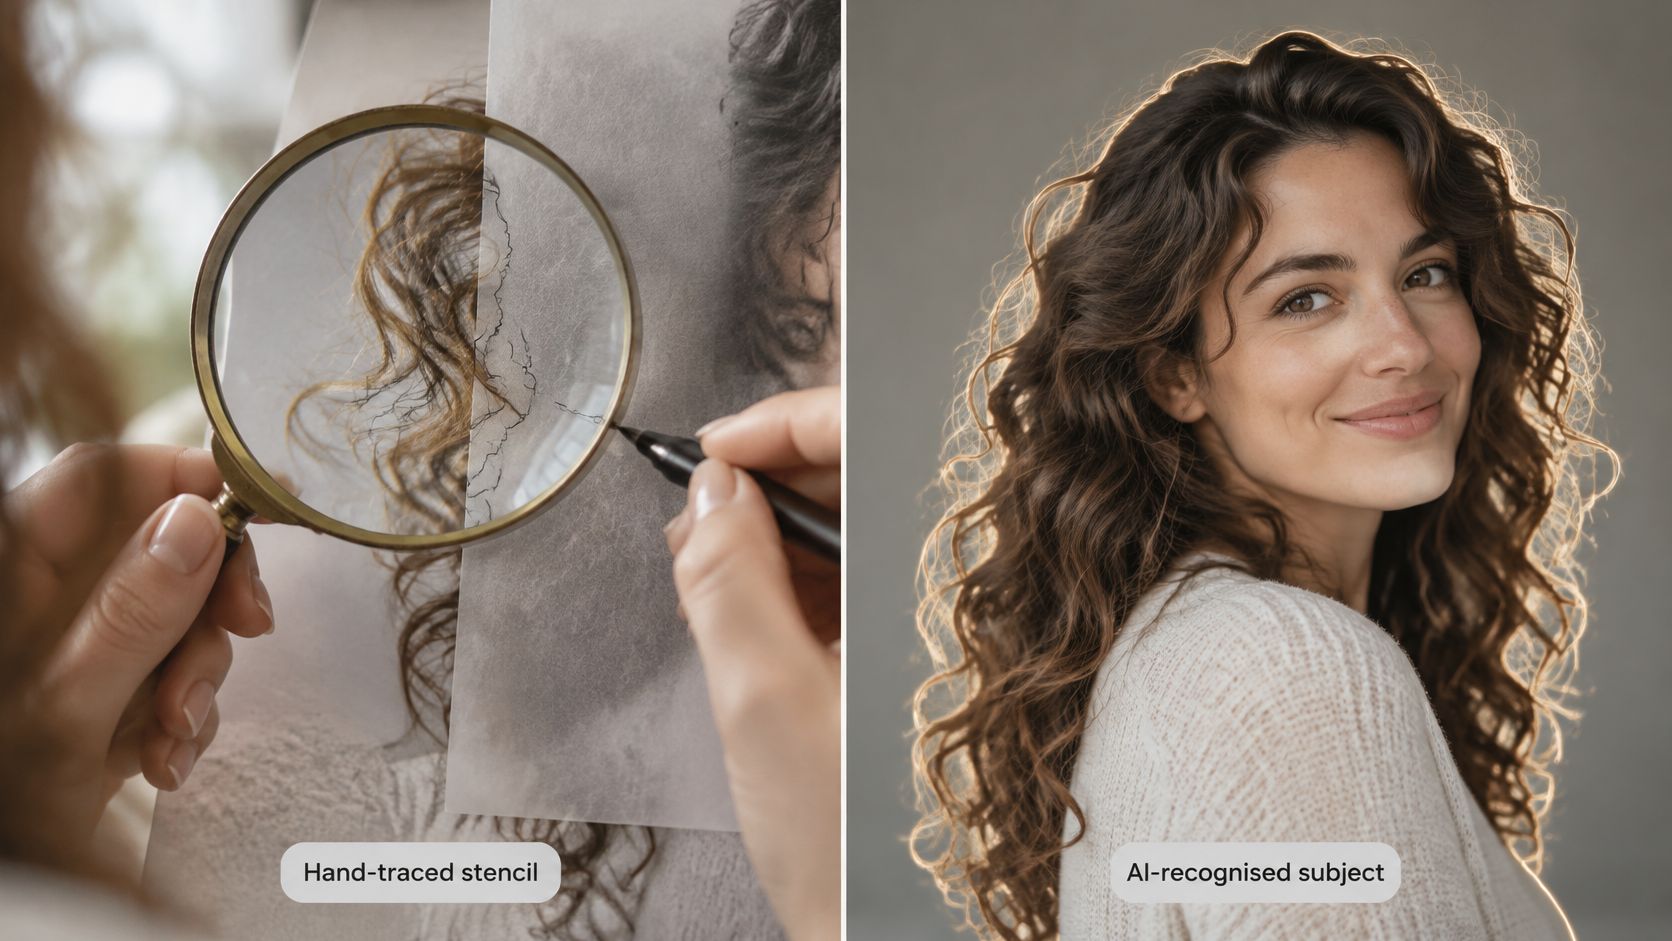
Manual masking is like tracing a stencil around every curl of hair. Modern background removal works more like a trained eye: it recognizes the likely subject and estimates where that subject ends, including boundaries that aren't obvious from color alone.
Traditional image segmentation relied on manually defined edges, color thresholds, or human-drawn masks. Computer-vision models now infer those boundaries automatically, making it practical to isolate clothing, people, and product contours across a catalog rather than tracing every image from scratch.
The difference is easiest to understand by comparing a hand-traced outline with a detailed portrait.
Recognition isn't the same as reconstruction
A model can correctly recognize a handbag while misreading the gap beneath its handle. It can identify a person without preserving every flyaway hair. Subject detection and edge quality are different problems, so a convincing thumbnail doesn't establish that the exported mask is accurate.
Catalog production helps explain the appeal. 360 Research Reports reports that approximately 92% of 7 million edited product images had their backgrounds removed, an industry observation rather than a universal benchmark.
The production benefit is reuse. Once isolated, a photographed subject can appear in a catalog layout, a promotional composition, or a new scene without repeating the photography. That doesn't mean the model understands which reflections, shadows, or transparent areas your campaign needs to preserve.
Read the difficult boundaries
These cases deserve different expectations:
- Clear subject against a contrasting backdrop: Usually the strongest starting point. The model has both recognizable shape and visible separation to work with.
- Similar subject and background colors: Boundaries can merge, leaving a softened outline or removing a thin section that belongs to the object.
- Transparent glass: The model may classify the visible background inside the glass as something to remove, producing an empty or unnaturally opaque object.
- Reflective metal: Bright reflections can resemble gaps or outside edges. A polished surface may carry colors from the original environment into the new composition.
- Attached-looking shadows: A dark contact area may remain with the object or disappear, depending on how the model interprets it.
The practical rule is straightforward: the finer and lower-contrast the boundary, the closer your inspection should be before export. Don't judge a glass bottle by the same standard as a matte cardboard box.
Prepare Photos and Fix Stubborn Edges
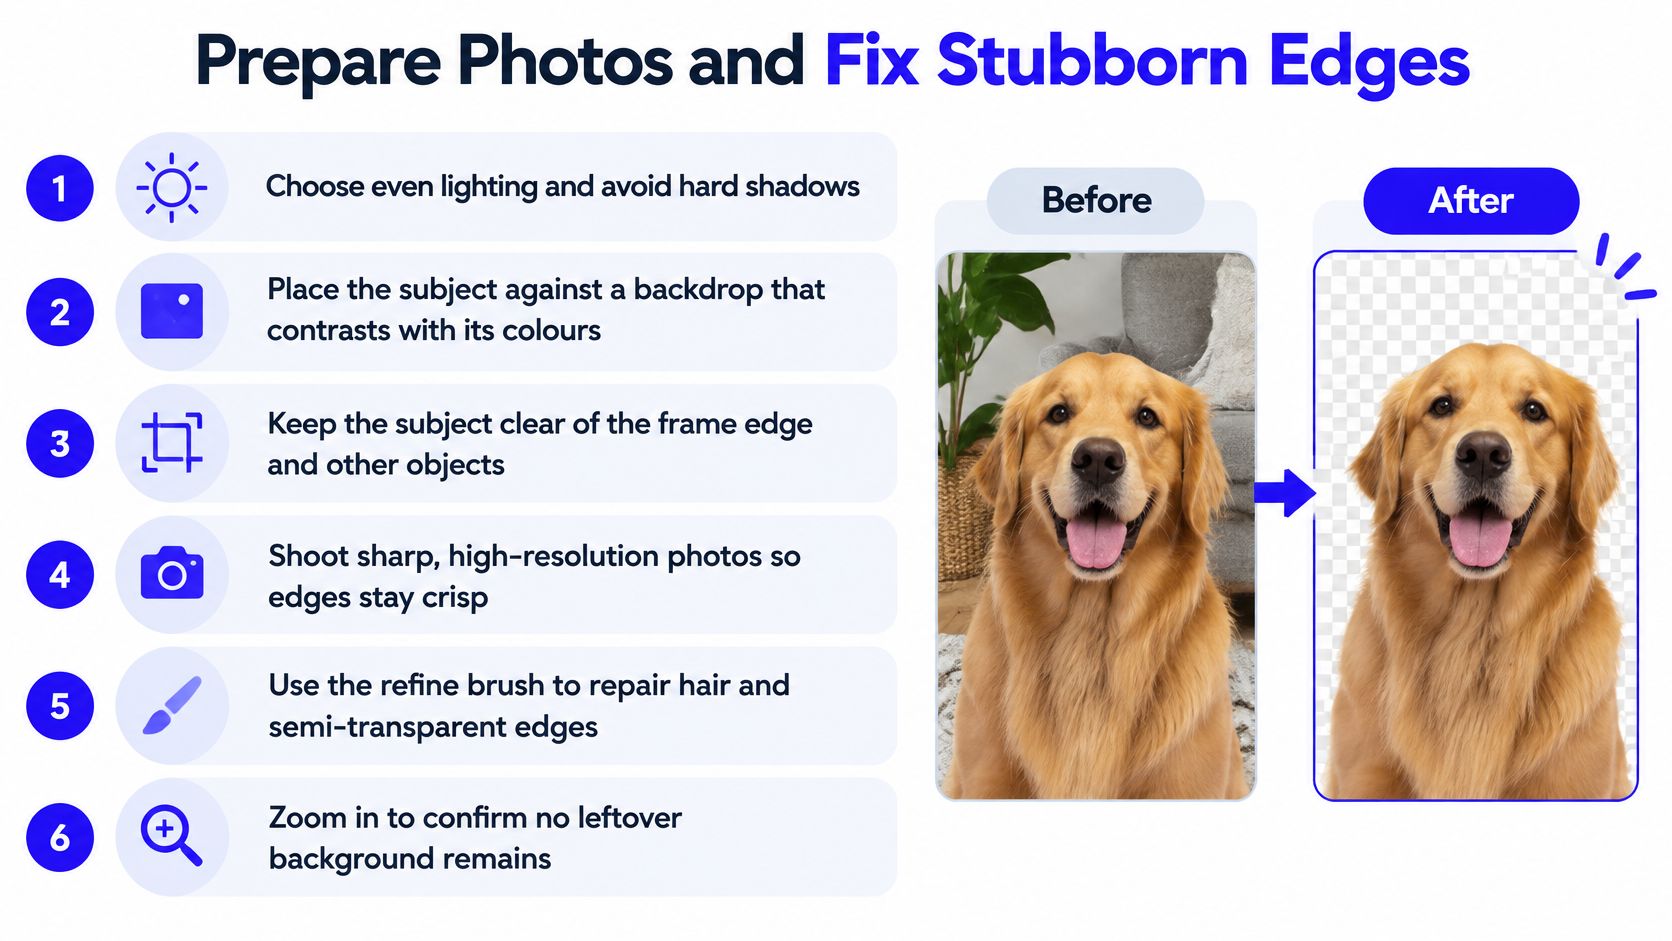
- Light evenly: Use soft illumination that reveals the outline without casting a hard background shadow.
- Choose contrast: Put a pale object against a darker backdrop and a dark object against a lighter one, while avoiding strong color spill.
- Leave breathing room: Keep the entire subject away from frame edges, props, and neighboring products.
- Capture real detail: Use the highest-quality original available and focus on the subject, not the backdrop.
- Keep the source clean: Avoid screenshots and repeatedly compressed copies when the original photograph is available.
Better preparation reduces the amount of mask repair you'll need. Use the symptoms below to decide whether to edit the current image or replace it.
Edge problems, causes and fixes
| Symptom | Likely cause | Fix |
|---|---|---|
| Color fringe or halo | Background color bleeds into the edge | Re-shoot on a contrasting backdrop, or refine the edge and fill with a matching color |
| Missing hair or fine strands | Low contrast between hair and background | Use a sharper, higher-resolution photo, then accept the edge or retouch it by hand |
| Clipped corners or edges | Subject touches the frame or a neighboring object | Re-shoot with margin around the subject |
| Floating product | Contact shadow removed with the background | Add a soft shadow on a separate layer under the cutout |
| Glass or translucent parts disappear | Transparent surfaces read as background | Shoot against a backdrop that shows the object, then refine the edge manually |
The preparation checklist is useful beside your shooting setup, not just inside the editor.
Repair the mask without changing the product
For a halo, inspect whether the problem is unwanted background coverage or contaminated edge color. Erasing more of the mask solves the first problem but can make the second worse by shrinking the product. Restore the correct outline, then correct the fringe color in a narrow edge area.
Don't blur the entire outline to hide a local defect. That can make packaging corners look rounded and turn fabric texture into a soft smear. Work on the affected section, then compare it with the original.
For glass, restoring the outer silhouette isn't enough. The interior must still look transparent against the replacement background, with plausible reflections and highlights. If the old scene remains visibly trapped inside the object, consider a different source photograph or a more controlled composite.
A mask can recover pixels that were excluded. It can't recover a corner that was never photographed.
Small leftovers, a narrow halo, and a missing contact shadow are usually editor problems. A cropped product, motion-blurred hair, or an object hidden behind another item calls for a new photograph. Stop retouching when you're inventing product geometry rather than preserving it.
Match the Cutout to Where It Will Run
A clean cutout isn't automatically a compliant listing image. Use the destination comparison below to choose the background and framing before flattening your master.
Background and size rules by destination
The marketplace rules summarized by PhotoRoom's marketplace image-compliance guide distinguish Amazon's commonly required pure white RGB 255/255/255, at least 1,000 pixels on the longest side for zoom, and at least 85% product fill from the different recommendations for eBay, Walmart, and Google Shopping.
| Destination | Background | Size and layout rule |
|---|---|---|
| Amazon main image | Pure white, RGB 255/255/255 | At least 1,000 px on the longest side; product fills at least 85% of frame |
| eBay | No required background color | Check current listing and category image requirements |
| Walmart | Confirm current category background requirements | Square image; no promotional overlays |
| Google Shopping | White or transparent | Large square asset |
| Own site, ads or social overlays | Transparent PNG (RGBA) as the reusable master | Match your layout; no marketplace limit for your own site, and check ad-placement requirements |
Use transparency when you need compositing flexibility. Use a flattened white background when the listing requires white, rather than assuming the uploader will display transparency correctly. For Walmart, don't infer a background requirement from its square-layout recommendation.
Avoid both framing failures
Too tight means the product touches the boundary, a handle gets cropped, or part of the silhouette disappears when a platform generates a thumbnail. Enlarging the object until it barely fits isn't a substitute for checking the complete product outline.
Too loose means the product appears small and may miss a destination's fill requirement. Standardize padding across similar items, but don't force a tall bottle and a wide gift box into identical scaling if that makes either difficult to interpret.
Packaging needs an additional check: labels, closures, and structural details must remain truthful. For teams photographing regulated-product packaging, Mylarmen's packaging guide for cannabis brands provides useful packaging context; use it alongside the actual pack reference, not as a substitute for a marketplace's image or category policies.
A product-page image and an ad also have different jobs. Our guide to AI video advertising can help you plan the campaign treatment separately from the catalog export, so promotional text doesn't accidentally end up on a restricted hero image.
Check the upload, not just the cutout
- Destination: Confirm the marketplace, category, placement, and image role.
- Background: Verify transparency, white, or the permitted campaign treatment.
- Minimum size: Check the actual exported dimensions, not the editor canvas alone.
- Product fill: Review both empty padding and accidental clipping.
- Alternative text: Write an accurate description separately from the visual edit.
Removing a background doesn't make an image accessible. For a product image, describe the item and relevant visible features; don't fill the alt text with editing terminology or promotional claims.
Export Settings for Reels, TikTok Ads and Product Pages
A clean product cutout can still fail delivery when the file is built for the wrong placement. Decide whether the asset is going to a Reel, a TikTok in-feed ad, or a product page before adding motion, then set the canvas, duration, and export format around that destination.
- Isolate the subject and bring the approved master into your composition.
- Build a vertical canvas, keeping important labels and product details clear of the top and bottom interface areas.
- Add a restrained motion, such as a scale-in, reveal, or gentle camera move.
- Export a delivery version, checking dimensions, frame rate, encoding, and duration independently of the source image.
For a practical canvas reference, revid.ai's guide to the 1080 x 1920 Reel format helps with vertical composition. Treat 1080 x 1920 as the delivery target; enlarging a small source still leaves missing detail. Preview the layout on a phone because interface elements can cover areas that appeared safe in the editor.
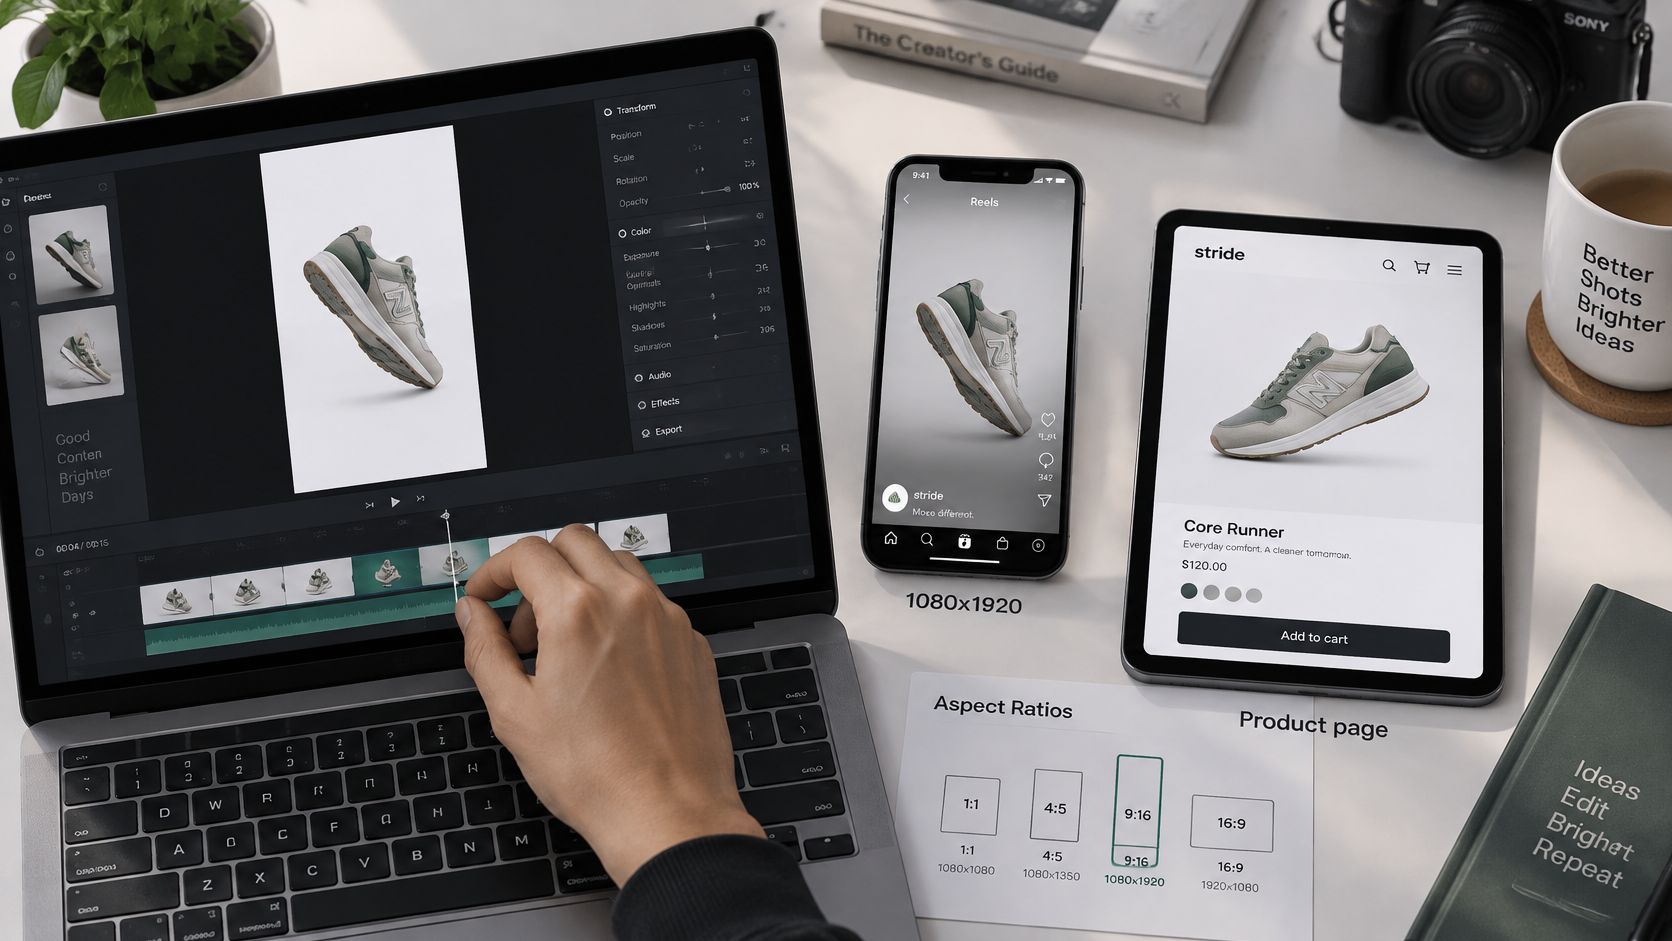
Vertical video specs for Reels and TikTok ads
Instagram's Reels help page specifies aspect ratios from 1.91:1 to 9:16, a minimum resolution of 720 pixels, and a minimum frame rate of 30 fps. The Instagram publishing developer specification supplies the developer-path duration, file-size, encoding, and frame-rate ranges below, while TikTok's in-feed ad specification supplies the TikTok limits and recommendations.
| Platform | Aspect ratio | Resolution and frame rate | Length | Max file size | Format and bitrate |
|---|---|---|---|---|---|
| Instagram Reels | 1.91:1 to 9:16; 9:16 recommended | 720 px minimum; 30 fps safe target; developer specification allows 23 to 60 fps | 3 seconds to 15 minutes | 300 MB | MP4 or MOV; H.264 or HEVC video; AAC audio |
| TikTok in-feed ads | 9:16 vertical | 540 by 960 px minimum; 30 fps recommended, matching the Reels target | 5 to 60 seconds; 9 to 15 seconds recommended | 500 MB | MP4 or MOV; bitrate at least 2,500 kbps |
Export at 30 fps for both Reels and TikTok ads.
Keep motion subordinate to the product
A useful animation prompt is: Keep the product silhouette and printed label unchanged. Move the camera gently forward against a neutral studio background. Preserve the closure, proportions, and readable branding.
Inspect the generated sequence for changing letters, bending packaging, and drifting edges. Pause on the first and last frames, where small distortions are easiest to catch. A basic scale-in can be a better product demo than a generated rotation when only the front of the object was photographed.
Use the video below as a motion reference, then validate your own exported file.
For looping image assets, follow a separate background-removal workflow for GIFs; a still-image export will drop the animation. For product pages, retain the transparent master and export the file type the page template supports.
Sharp-looking footage can still fail technical validation. Check the rendered file's properties and watch it on a phone before uploading.
Check Privacy Terms Before You Upload Client Photos
A product photo can reveal an unreleased prototype, a customer's shipping label, a home interior, or an identifiable person. Removing the background afterward does not undo the disclosure made when the original file was uploaded.
Human-computer-interaction research published by ACM points to weak transparency around storage, processing, and secondary use across commercial generative-image services. For confidential work, a clean alpha edge is only half the job.
Read the training language precisely
ImagesArt AI says it collects personal information such as name, email address, and usage data to contact or identify users, provide the service, and improve AI prompt generation capabilities. When users generate image prompts, it collects the prompts entered and the prompts produced. It also collects log data such as IP address, browser version, pages visited, visit timing, and time spent on pages.
Uploaded material is described as stored on ImagesArt AI's own servers with industry-standard encryption and security practices. Service providers may access personal information only to perform tasks on its behalf and are obligated not to disclose or use it for anything else. ImagesArt AI says it does not use prompts, uploaded media, or generated outputs to train its own foundation models and does not sell that content, while a separate provision allows anonymized prompt data to be used for training and improving its AI systems. Those scopes are different, so read the current privacy policy before uploading non-public material.
If a client, marketplace, or partner hands you another vendor page, such as a data protection policy, run it through the same checklist instead of treating the title as a guarantee.
- Processor and hosting: Identify who operates the service, who touches the upload, and where processing happens.
- Storage purpose: Separate temporary processing from account history, backups, and saved assets.
- Training scope: Distinguish foundation-model training from system improvement and anonymized prompt use.
- Deletion and retention: Confirm what deletion removes. On ImagesArt AI's AI Image, AI Video, and Image to Video pages, a result can be deleted from the right history panel by clicking “…” and choosing Delete; the policy information available here does not specify retention periods.
- Confidentiality: Keep NDA material in approved local or self-hosted tools unless the client authorizes the external processing arrangement.
Keep an audit trail: Save the original beside the output, preserve an editable mask, and record the changes made.
Where supported, retain machine-readable provenance at export. A client should be able to distinguish background replacement from changes to the product itself, and your team should be able to roll back an edit without reconstructing it.
Set Up Your Batch Workflow Before the Next Shoot
A batch workflow needs a repeatable decision process, not just a faster remove-background button. Set the acceptance criteria before the team starts processing the catalog.
Write a destination spec. Record the background, dimensions, product-fill rule, and file format on a shared job sheet. Assign someone to approve exceptions, especially unusually shaped products.
Test a reference frame. Photograph an item using the lighting, backdrop distance, and framing planned for the set. Process it before shooting everything else, including a difficult reflective or translucent item if the range contains one.
Separate masters from deliveries. Save platform-specific export presets and use distinct folders for originals, transparent masters, editable projects, and flattened delivery files.
Gate confidential work. Keep client files out of tools that don't satisfy the agreed data-handling requirements. Record approval alongside the job rather than relying on a conversation nobody else can verify.
Spot-check across the batch. Inspect the first, middle, and last assets at full size, then review a contact sheet for inconsistent padding, color, or apparent product scale.
Plan the motion handoff. Our AI Background Remover shares an account with Text/Image to Video tools and multi-model access, including Seedance, Kling, and Veo. New accounts receive 15 free credits; check the displayed credit cost before choosing your test operations.
Test a few representative photographs before committing the whole batch, and resolve the hardest edge case before treating the setup as approved.
ImagesArt AI offers background removal alongside image editing and text-to-video and image-to-video tools, so an approved product cutout can become a listing asset or the starting point for a short ad. Visit ImagesArt AI, test a representative product photo, and validate its edges and destination export before processing your next batch.