How to Separate an Image into Layers: Photoshop, Canva, Cricut & AI
ImagesArt.ai
11/18/2026
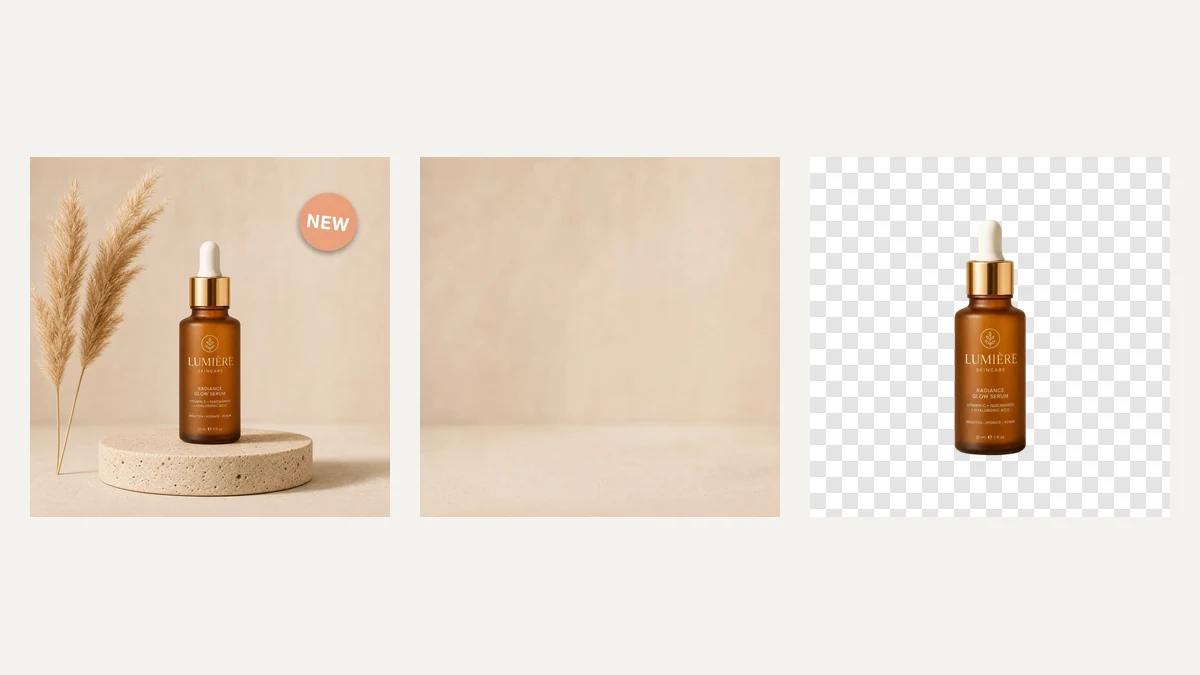
A JPG or PNG is flat. The person, the product, the headline and the background are all baked into one grid of pixels, so you can't move one without leaving a hole. To separate an image into layers, you have to do two jobs: cut each element out onto its own layer, and fill in the background where that element used to be.
The short version: select the element, cut it to a new layer, fill the gap behind it, and repeat for every element. Photoshop, GIMP and Canva all do this by hand, one element at a time. An AI layer tool does every element and the background fill in one run.
Below is how to do it in each tool, and when each way makes sense.
Which method should you use?
| Method | Best for | Fills the background? | Time per image | Cost |
|---|---|---|---|---|
| Photoshop | Pixel-exact cutouts, print work | Yes, with Generative Fill or Content-Aware Fill | 5 to 30 minutes | Subscription |
| GIMP or Photopea | The same manual job for free | Only by hand (clone or heal) | 10 to 40 minutes | Free |
| Canva Magic Grab | One subject or a block of text | Yes, automatically | About a minute | Canva Pro |
| Cricut Design Space | Cut files by color | Not needed for cutting | 10 to 20 minutes | Free with a Cricut |
| AI image to layers | Every element at once, posters, thumbnails, product shots | Yes, a clean background layer | About 30 seconds | Credits per layer |
The times are rough and depend on how busy the image is. Hair, fur and glass take longest by hand.
How to separate an image into layers in Photoshop
Photoshop is still the most exact way, because you decide every edge.
- Open the image and unlock the Background layer (click the lock icon in the Layers panel).
- Pick the element. Select > Subject grabs the main person or product. For anything else, use the Object Selection Tool and drag a box around it.
- Clean the edge with Select and Mask if there is hair or fur.
- Press Shift+Ctrl+J (Shift+Cmd+J on a Mac) for Layer via Cut. The element moves to a new layer and leaves a transparent hole.
- Select the Background layer, load the hole as a selection, expand it by a few pixels, and fill it with Generative Fill or Edit > Content-Aware Fill.
- Repeat steps 2 to 5 for each element, then name the layers.
The hard part is step 5. Without a filled background, moving any layer shows a cut-out shape behind it.
How to do it for free in GIMP or Photopea
GIMP and Photopea (which runs in the browser) follow the same steps with free tools.
- GIMP: select the element with Foreground Select or Fuzzy Select, then Edit > Cut and Edit > Paste as > New Layer. Fill the hole on the background layer with the Clone or Heal tool.
- Photopea: the menus copy Photoshop's, so Layer via Cut works the same way. Its selection tools are less clever, so expect to clean edges by hand.
Neither one fills the background for you, which is where most of the time goes.
How to separate an image into layers in Canva
Canva's Magic Grab is the quickest manual option. It's part of Canva Pro.
- Add the image to a design and select it.
- Click Edit, then Magic Grab. Canva lifts the main subject onto its own layer and fills the background behind it.
- To pull text out of a flat image, use Grab Text. It turns the lettering into editable text.
Magic Grab picks one subject per click and decides for you what that subject is. If your picture has a person, a logo and a product, you get the person and the rest stays flat.
How to separate an image into layers in Cricut Design Space
For Cricut, "layers" means cut layers, one per color of vinyl or cardstock, not editing layers.
- SVG files already contain layers. Select the image and click Ungroup to work with each color separately.
- JPG or PNG files upload as one flat layer. The usual way is to upload the same image once for each color, and in each copy erase everything except that color. Each upload becomes one cut layer.
- If the image is a simple graphic, tracing it to an SVG first (for example with Illustrator's Image Trace, then Expand and Ungroup) gives you color layers in one go.
Cricut layers are cut outlines, so background fill does not matter here. Busy photos don't make good cut files whichever way you split them.
How to separate an image into layers with AI
An AI layer tool reads the whole picture, redraws every element you name as its own transparent PNG, and gives you the background with those elements removed and the gaps filled. Here is how it works on our Image to Layers AI tool.
Upload your image
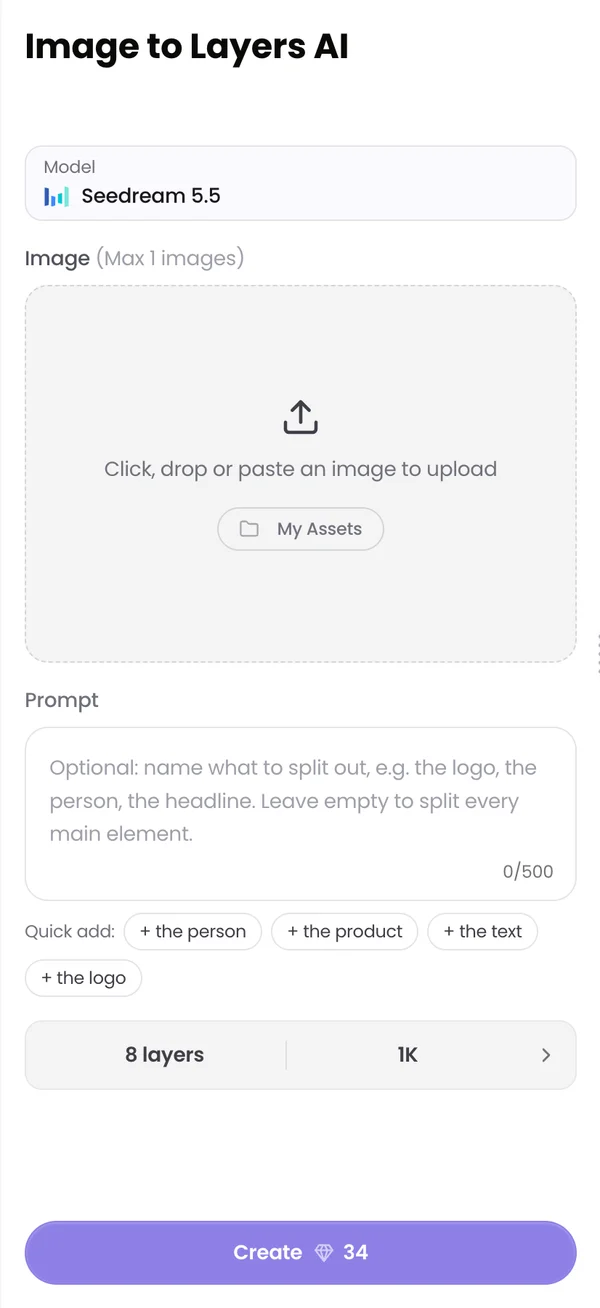
Open Image to Layers and drop in one JPG, PNG or WebP. Sharper sources give cleaner layers.
Name what to separate
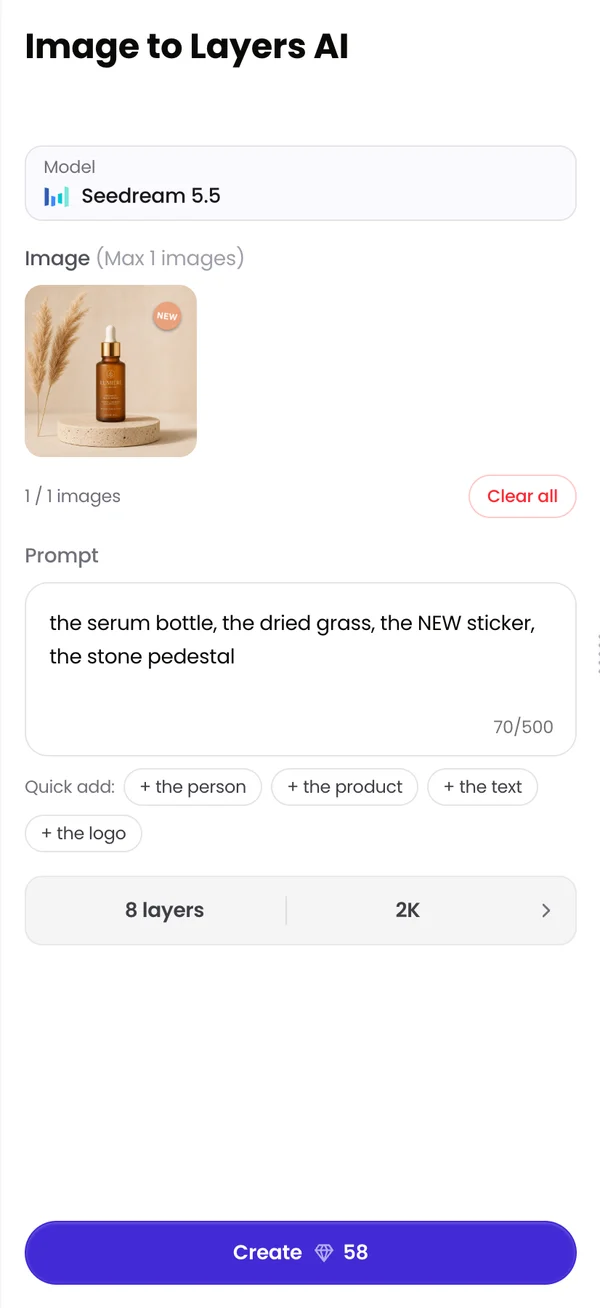
Type the elements as a comma-separated list, or tap the quick-add chips. Each item becomes one layer. Leave the box empty and the AI picks the main elements itself. Then choose the layer limit (4, 8 or 16) and 1K or 2K.
Download your layers
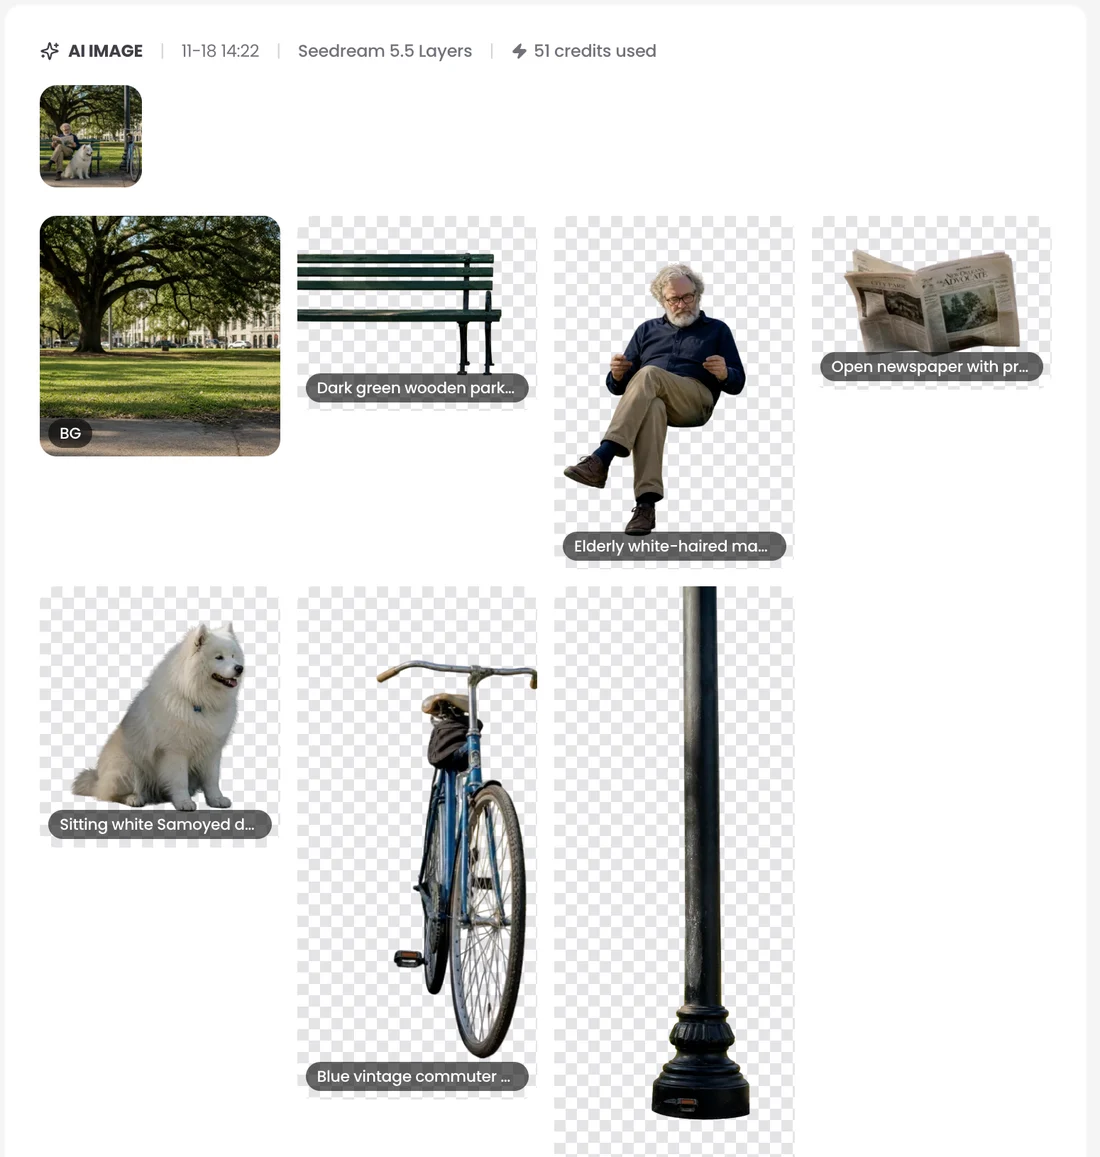
In about half a minute you get a background plus one PNG per element, each labeled with what it is. Save single layers, or the whole set as a ZIP or a layered PSD that opens with every layer already in place.
A full example, step by step
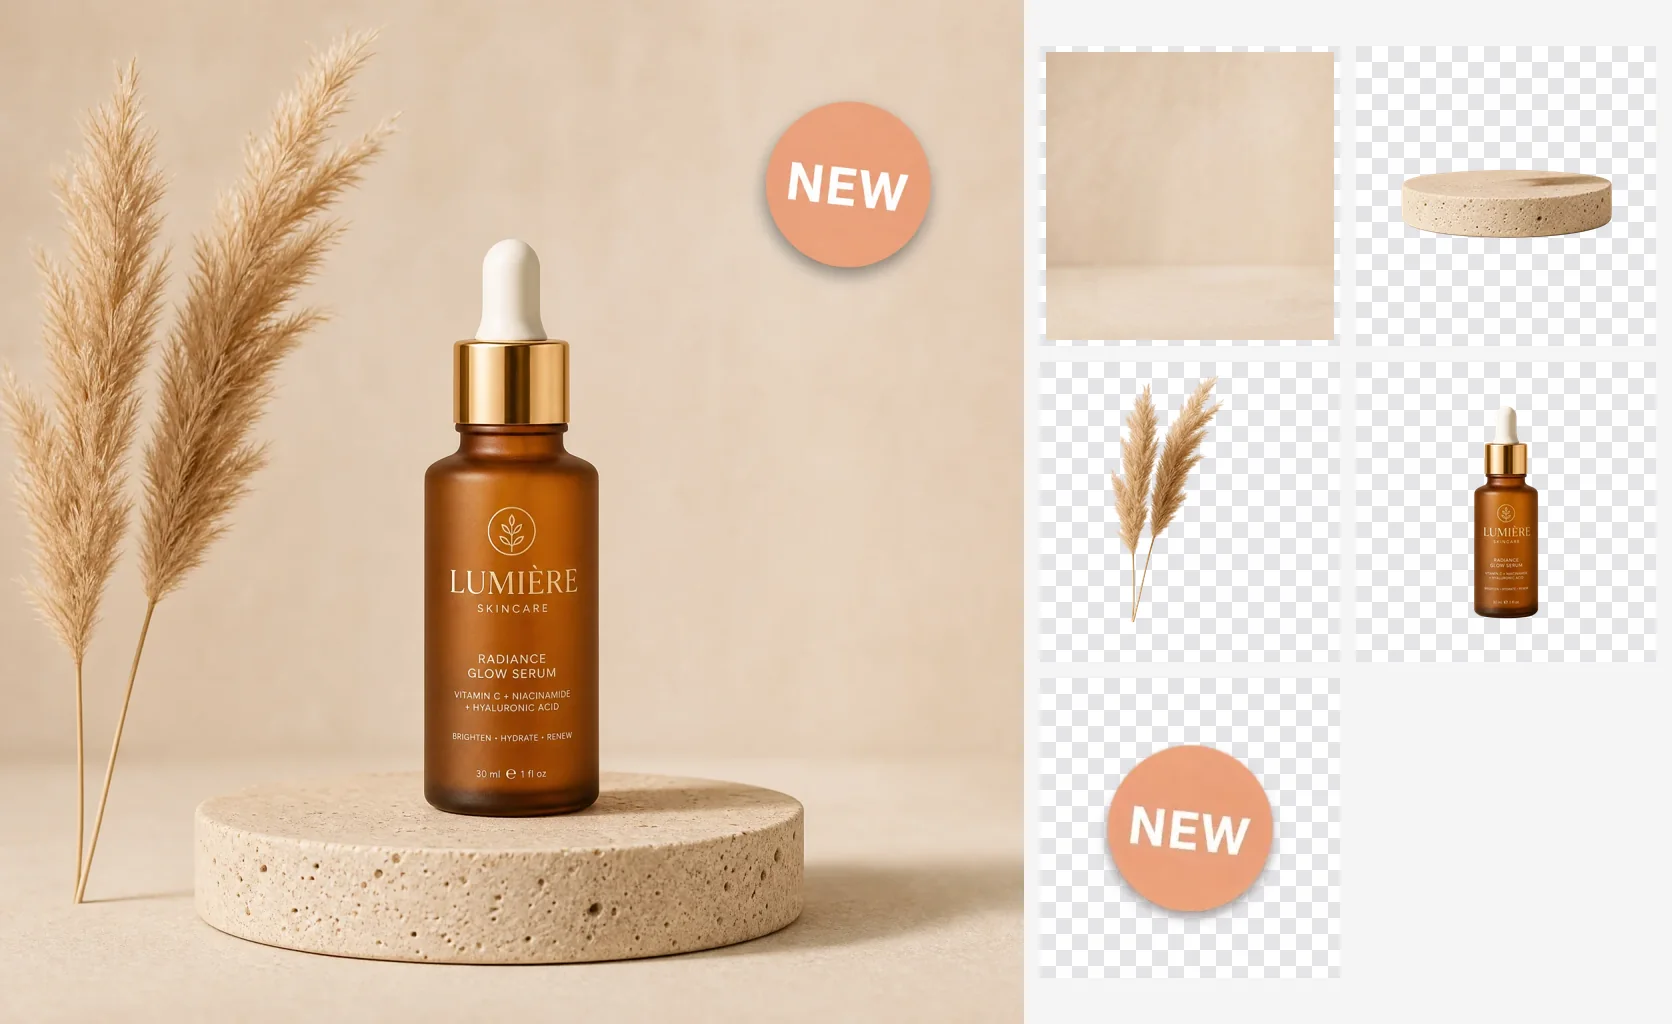
We ran the serum bottle photo above at 2K with this prompt:
the serum bottle, the dried grass, the NEW sticker, the stone pedestal
- 4 names, 4 layers. The bottle, the grass, the sticker and the pedestal each came back on their own transparent layer.
- One background. The beige wall and floor came back empty, with nothing left where the bottle stood.
- 37 credits. The run held 58 credits for an 8-layer limit, then charged only for the 5 images that came back (5 × 7 + 2) and returned the rest.
- Back in place. In the PSD, every layer sits exactly where it was in the original, so the file opens looking like the photo.
One thing we learned from a poster: if you don't name an element, it stays in the background. When we named only "the person with the keyboard" on a poster, the keyboard itself stayed painted into the background layer. Name it, and it gets its own layer.
Common mistakes
- Cutting without filling the background → the moment you move a layer, a hole the shape of that layer shows behind it.
- Writing a sentence instead of a list → the AI may merge things into one layer. Plain nouns with commas work best.
- Naming things vaguely → "the text" on a poster with three text blocks can come back as one layer. Say "the headline" and "the date" instead.
- Expecting the original pixels → AI layers are redrawn. Text and logos stay clean, but fine grass, bark or fabric can differ a little. For pixel-exact work, mask by hand in Photoshop.
- Using a tiny source → a blurry 500-pixel image gives blurry layers. Start from the largest version you have.