Adding Person to Photo: How to Make It Look Real
ImagesArt.ai
11/17/2026
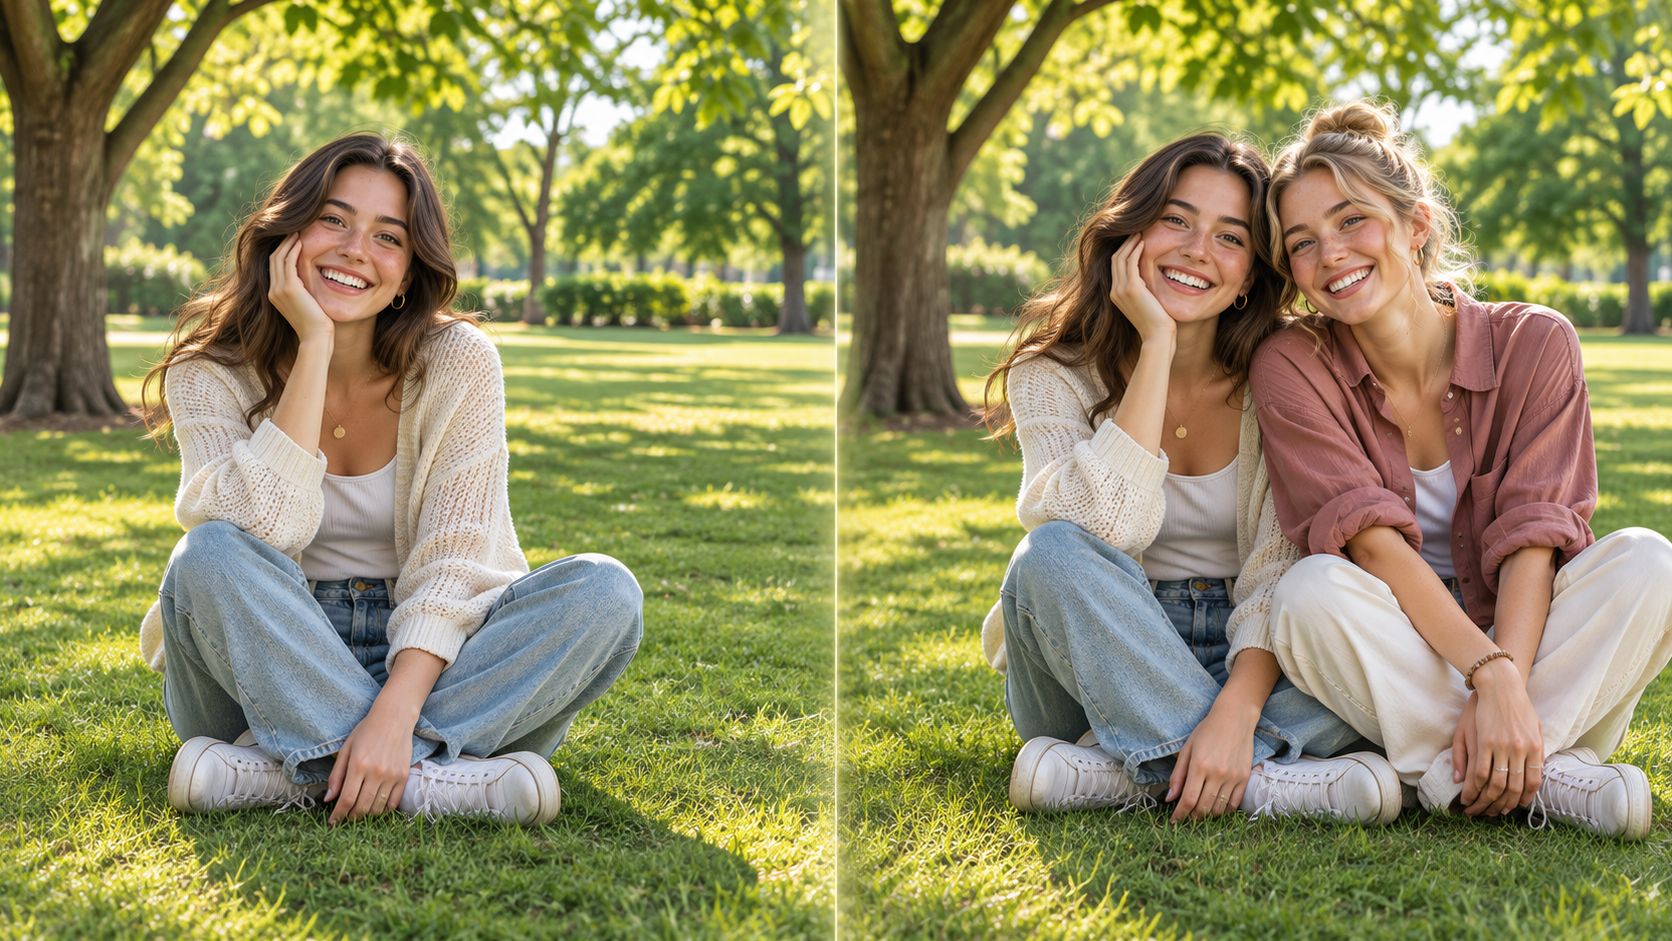
A clean cutout is the advice almost every tutorial leads with, and it's the advice that fails most often on a real job. Viewers don't reject an added person because the hair edge is a pixel soft. They reject it because the body is the wrong size for the room, the key light hits the wrong side of the face, or the feet float above the floor. A sharp face can still sit in a figure that was shot from a different height, with a different lens, under a different light.
I treat geometry, light, identity, and consent as separate pass/fail checks. A composite can look perfect and still be a bad edit if nobody who knows the person would recognize them, or if the file implies they stood somewhere they never did. Adding a person to a photo is a construction job, not a mask job.
Table of Contents
- Six Checks and Steps for Adding a Person to a Photo
- Prompt Patterns That Place the Person Correctly
- Keeping the Person Recognizable, Not Just Realistic
- Consent, Labels and Keeping the Original File
- Export the Composite for Reels, Ads and Product Demos
- Run Your First Person-in-Photo Edit Today
Six Checks and Steps for Adding a Person to a Photo
The surprise on client files is how little the cutout itself decides the result. Viewpoint, light direction, and a real contact shadow carry most of the realism. NIST face-image quality guidance treats illumination, focus, pose, occlusion, color balance, and background consistency as separate quality dimensions. Turning up brightness or sharpness doesn't fix a mismatch in any of them. The most damaging failure is geometric: a technically clean cutout still looks pasted when the camera height, perspective, or shadow direction disagrees with the target.
Run these six checks before you spend time on polish. A check passes only when the subject and the target agree, not when the subject looks good on its own.
| Check | What to match | Quick test | Typical failure |
|---|---|---|---|
| Scale | Eye line and shoulder width | Compare both against a horizontal line through the scene | Face is the right size but the body is off |
| Perspective | Camera height and viewing angle | Check the horizon and floor or table edges | Cutout looks pasted in from a different lens |
| Light direction | Side the key light hits the face | Compare highlight and shadow sides on both | Subject lit from the wrong side |
| Color and exposure | White balance, contrast and saturation | View at 100% beside the background | Warm or cool halo around the edges |
| Contact shadow | Shadow where feet, hands or clothing touch the scene | Look for shadow under feet or at contact points | Generic drop shadow makes the person float |
| Sharpness and noise | Detail level and grain | Zoom to 100% on the face and edges | Over-smoothed face next to a grainy background |
Work the steps in this order
Pick the source before you mask. Choose a portrait whose head angle, eye direction, focal length, and lighting already resemble the target. A three-quarter face shot from above will never sit cleanly in a straight-on group shot. That mismatch is hard to repair later, and warping the face to force it usually wrecks identity.
Isolate at full resolution. Build a high-resolution mask and refine hair, fingers, and semi-transparent edges at 100% zoom. Rough edges are the first thing a viewer notices, especially against a bright wall. If the source background is busy, a dedicated background remover is a faster start than painting the mask by hand, but you still have to clean the fingers and flyaway hair yourself.
Match scale with the body, not the face. Line up the eye line and shoulder width against a horizontal through the scene, and check perspective against nearby people or furniture. The common slip is enlarging the face until it fills the frame. The head then looks right and the torso looks like it belongs to a different person.
Warp the body, never the face. Transform the shoulders, arms, and stance so they agree with the camera height. Leave facial proportions alone. Stretching a jaw to "fit" a pose is how a recognizable client becomes a stranger.
Match the grade, including grain. White balance, exposure, contrast, saturation, sharpness, and noise all have to sit with the background. A clean but brighter subject still reads as pasted, even with a perfect edge. Don't over-smooth the face relative to the pixels around it.
Paint a local contact shadow. Put darkness where feet, hands, or clothing meet furniture, floors, or other people, and rebuild occlusion where the new figure passes behind a foreground object. A generic drop shadow makes the person hover.
Inspect twice. Check at 100% for edges, teeth, and fingers, then again at the size you'll deliver. Errors that scream on a phone can hide on a zoomed canvas, and the reverse is also true.
Cover the background with your hand. If the person still looks lit by the same light as the scene, the composite is close. If the face looks like a studio headshot sitting in a window-lit room, it isn't.
Prompt Patterns That Place the Person Correctly
Generative tools answer placement, pose, and light. They don't answer "make this look realistic." Vague requests produce a plausible stranger in a plausible pose, often with the light coming from nowhere in the scene.
On a video or image tool, the sequence is short. Choose a mode, write a prompt or upload an image, click Create, and download the result. The useful work happens in the prompt and in how little you change between rounds.
Start with a selection. Draw a region slightly larger than the expected silhouette, open Generative Fill, enter the description, and generate several variations. Adobe's Generative Fill workflow places that result on its own layer, so you can adjust masking, opacity, color, or perspective afterward without overwriting the source. A tight selection clips shoulders and feet. A huge one invites the model to repaint the product.
Prompts that name the job
- Placement: "Full-body retail associate standing beside the product, three-quarter view, soft window light, matching the existing perspective." Name the role, the pose, the camera angle, the light, and the location. Leave identity-neutral attributes in the prompt and keep the person's likeness for a reference check later.
- Lighting: "Key light from camera left, cool daylight, same exposure as the existing scene." Name the side the light comes from and the color temperature. If you don't, the model invents a flattering studio setup that fights the room.
- Shadow: "Contact shadow under both feet on the floor, no floating drop shadow." Ask for the contact, not a glow.
- Preservation: "Keep the rest of the image unchanged." Say it every time. Otherwise a "small" edit drifts the product color or the background crop.
Change one variable per round. If you rewrite pose, clothing, and light together, you can't tell which line fixed the composite and which one broke the product. Generate a few variations of the best prompt, then refine that one instead of regenerating the whole frame.
Write three prompts against your own photo, one for placement, one for light, and one for shadow. Compare the outputs side by side before you composite anything. The version that agrees with the existing perspective is the one worth masking.
Keeping the Person Recognizable, Not Just Realistic
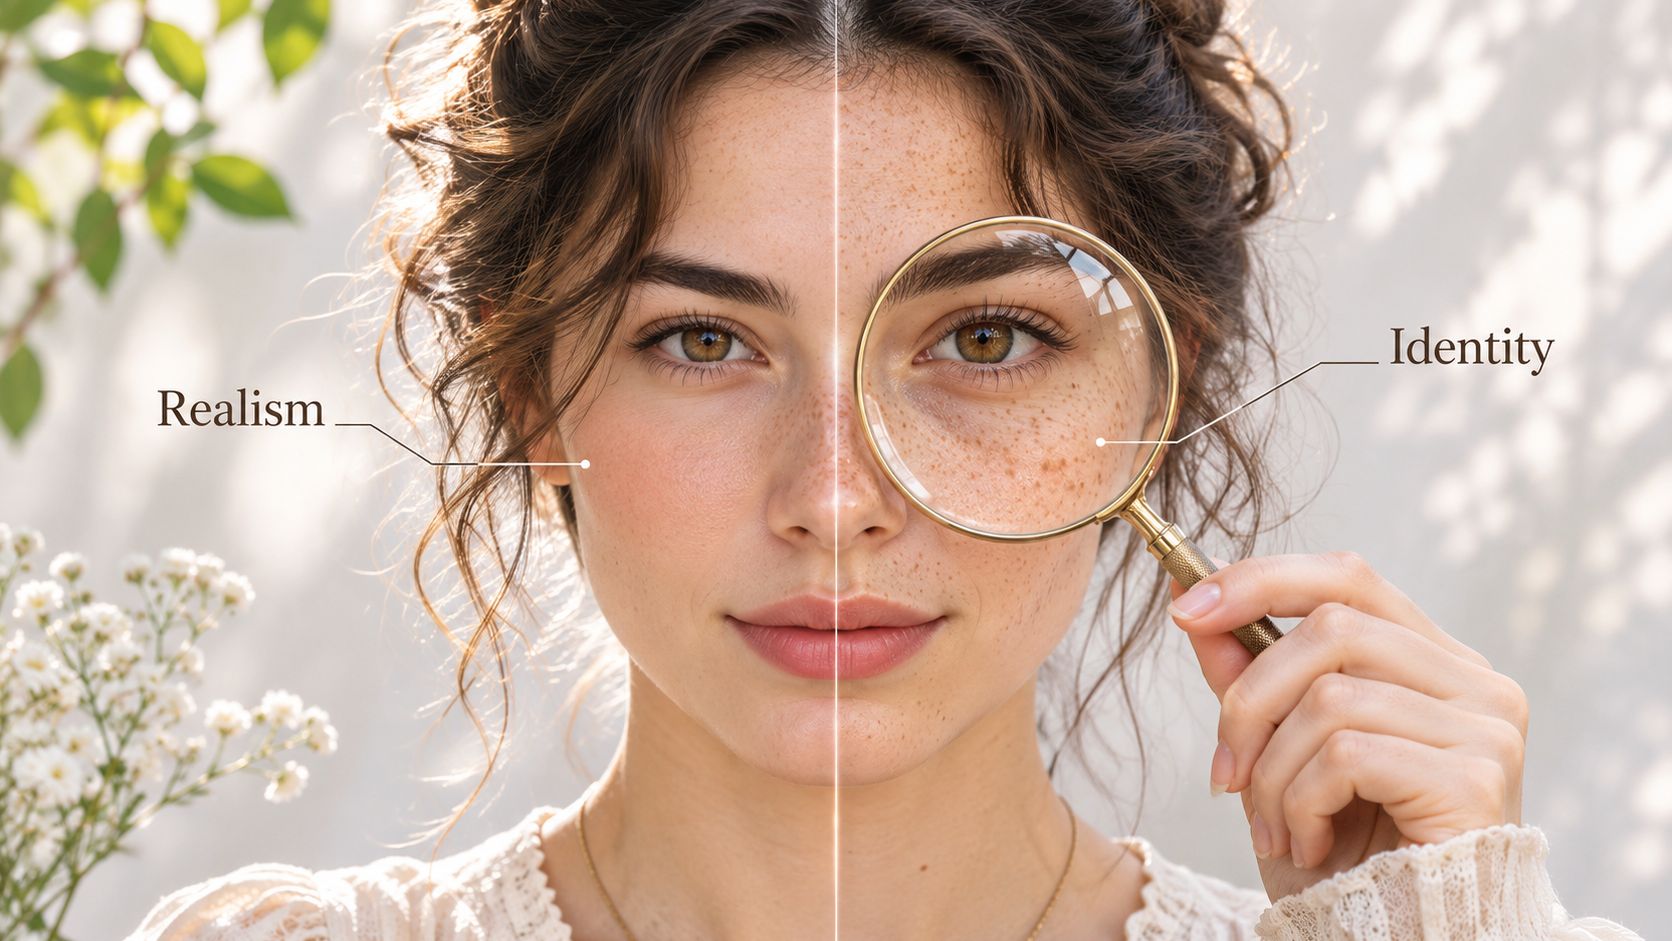
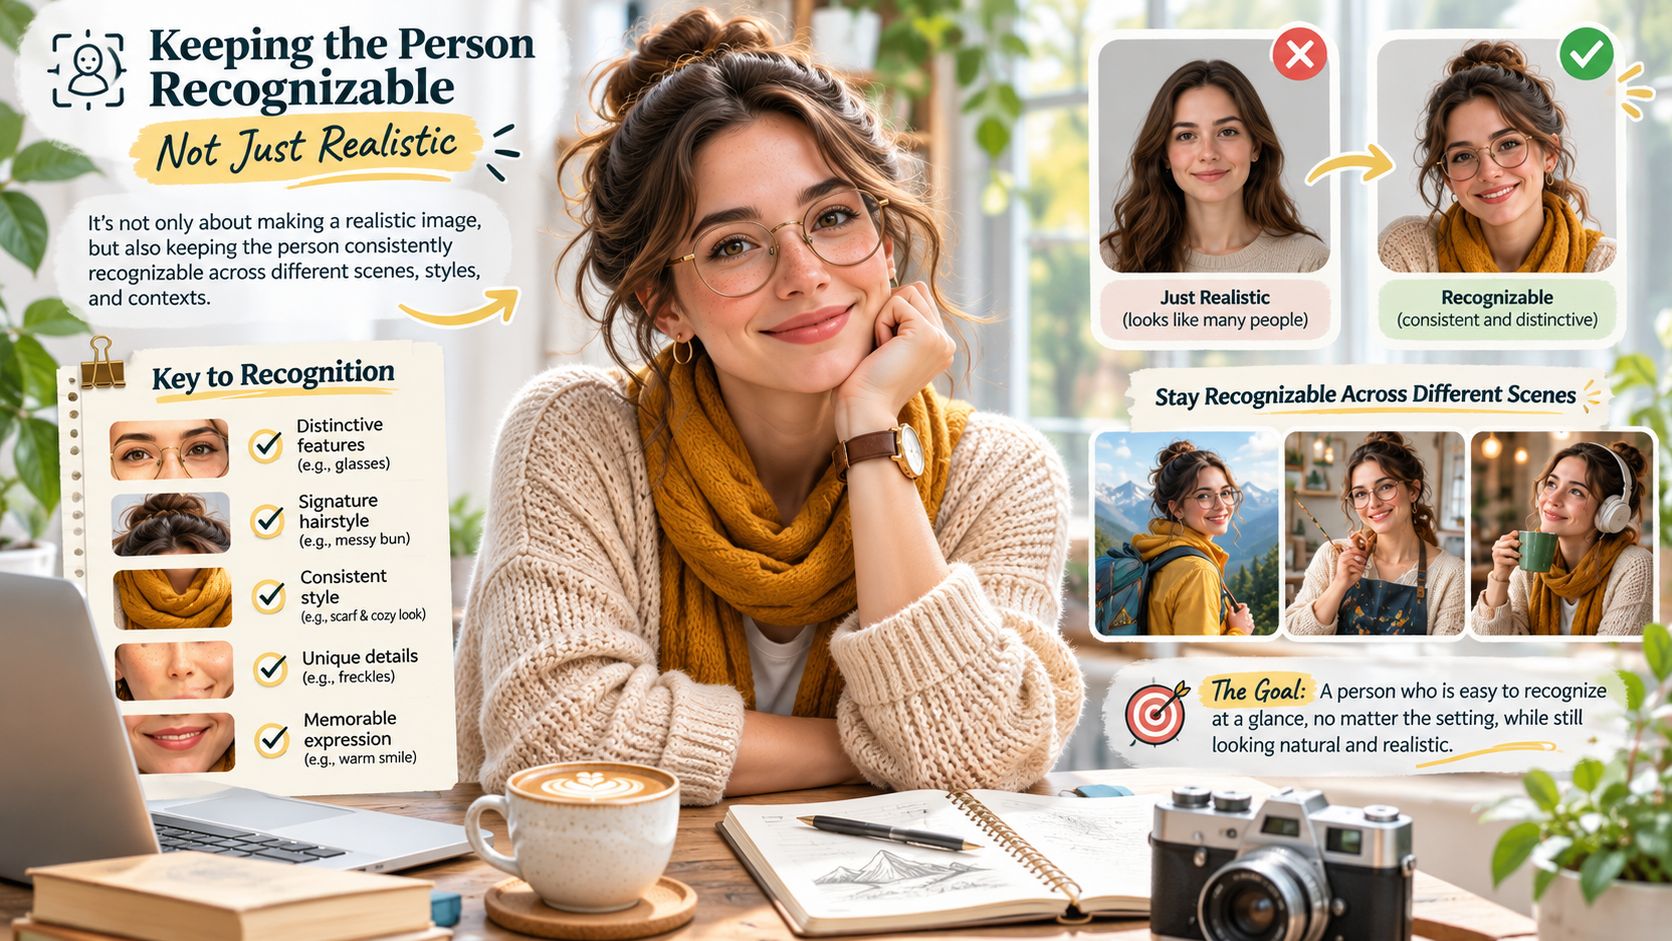
A composite can pass every visual check and still fail the job. Realism and identity are separate criteria, and a render can look fully photographic while turning the person into a plausible stranger with a similar haircut.
That failure is common, and it gets worse in the cases clients send. A 2025 Adobe Research evaluation reported that only about 33% of tested image-editing requests were fulfilled successfully by the best systems, with precise edits performing worse than open-ended creative tasks. In practice, faces that occupy few pixels in the frame, and frames where several faces appear together, are the first places likeness slips. Expect unrequested touch-ups too: smoother skin, a narrower jaw, brighter eyes, teeth that were never there, even when the prompt asked for none of it.
A verification routine that rejects pretty strangers
Use two or three reference photos of the person taken in different light and at different angles. Compare identity anchors rather than overall attractiveness: eye spacing, hairline, nose and jaw proportions, ear shape, and any distinctive mark such as a mole or scar. Then inspect eyes, hands, teeth, and skin tone at full resolution. Those are the details a model reconstructs from pattern memory rather than from your source.
One drifted anchor is enough reason to reject. Regenerate only that region with a masked pass instead of rerolling the whole frame, because a fresh roll trades the anchor you lost for the two you had locked. For a small or distant face, composite from a larger source portrait and crop tighter in the final image, so the model works from real features rather than a dozen pixels of guesswork.
The same problem multiplies when the person has to stay recognizable across several shots or a sequence. Tools built to keep characters consistent in AI videos help when you're locking a face across takes, but they don't replace a side-by-side check against the original references.
Place the composite only if someone who knows the person would recognize them. Reject any version where a single anchor has drifted, even if the lighting is perfect.
Consent, Labels and Keeping the Original File
Before you publish, answer the question a brand would be embarrassed to dodge. Did this person agree to appear in this image, in this context?
Most how-to posts treat the edit as harmless compositing. It isn't, once the picture changes what happened. Recent human-computer-interaction research on generative photo editing, published through the ACM Digital Library, found that participants valued preserving "identity anchors" and reported source confusion, distorted memories, reduced trust in personal archives, cultural bias, and unintended information loss. Even a family edit you made for yourself can blur what the original showed.
Get explicit consent before you add any identifiable living person. Don't place someone at an event they didn't attend, and don't imply an endorsement they didn't give. A testimonial, a product demo, and a memorial image all carry that risk. Privacy, publicity, advertising, and deceptive-media rules differ by jurisdiction, so permission and a plain label are the default, not a legal opinion about one country. If the photo shows a location you don't control, read up on protecting commercial architectural images legally before the composite goes into an ad. Pose and body changes raise the same consent question, which is why a body editing workflow belongs in the same file notes as the added person.
Save the original and the edited file separately. Put the prompt and the date in the file name or in a note beside it, so the edit can be audited later. Caption the published version in plain language.
AI-edited composite. [Name] was added to this photo with their permission. They were not present at the original shoot.
Export the Composite for Reels, Ads and Product Demos
A convincing composite still fails if the platform reframes it. Instagram's published Reel specifications accept aspect ratios from 1.91:1 through 9:16, require at least 30 frames per second, and require a minimum resolution of 720 pixels. Miss any of those and the face or the product gets cropped by the player, not by you.
| Placement or case | Aspect ratio | Minimum resolution | Frame rate |
|---|---|---|---|
| Reels, full screen on mobile | 9:16 | 720 px | 30 fps |
| Reels, widest accepted ratio | 1.91:1 | 720 px | 30 fps |
| Wider than 1.91:1 | Crop or add background to fit the range | 720 px | 30 fps |
| Taller than 9:16 | Crop or extend the frame to fit the range | 720 px | 30 fps |
Compose the person and the background in the target vertical canvas first. Keep the face and the product away from the edges where captions and buttons sit. 9:16 is the safest choice for full-screen mobile viewing. Wider layouts need a crop or extra background, or the player will do the crop for you.
Three layouts cover most client asks. In a product demo, the person points at the product with both the hand and the product inside the safe area. In a product ad, they stand beside it at a scale that matches the shelf or table. In a testimonial, frame them waist-up so the face stays large enough to read on a phone. If you animate the still, watch the silhouette. Motion that crawls across a masked edge creates a flicker the still never showed.
Export a 9:16 version at 720 pixels and 30 fps, preview it on a phone, and confirm the face and product stay visible under the interface. When the approved file has to reach a client without a crushed email attachment, a practical guide to client photo delivery is a cleaner handoff than a compressed zip.
Run Your First Person-in-Photo Edit Today
Pick one photo with a clear eye line and a readable light direction, and one person you already have permission to use. Run the six checks, write a placement prompt, generate a few variations, and compare the best result against your reference photos before you touch color.
ImagesArt creates AI videos and images from text or photos, with Seedance, Kling, Veo, and more available in one place. Text/Image to Video creates a video from a written prompt or animates one uploaded photo, including camera movement and native sound, which is enough to turn the approved still into a Reel without a reshoot. Reference mode accepts up to seven uploaded images of people, products, or places and combines them into one scene, which helps when the same person has to hold across several shots. New accounts receive 15 credits without a credit card, enough to test the workflow on a single composite.
Confirm consent, save the original, export at 9:16 and 720 pixels, and preview on a phone before you publish.
ImagesArt AI is built for short videos and image edits from a prompt, a photo, or a small set of references, which is the same path you just used to place a person and then move them. Use it to test a placement, animate the approved composite, and keep the original file beside the edit. Start a test on ImagesArt AI with the photo you already have permission to use.